How To Create A Google Doc Survey
If you need to create a survey for your business or organization, it can often be difficult to know which platforms are the best for creating a survey.

There are so many different options available and if you’re not used to some of the software they can also be extremely difficult to navigate without some time spent teaching yourself the basics!
Thankfully, if you’re familiar with Google Docs, and find it an easy software to use, then you don’t need to look any further for the perfect survey creation platform, as it’s right at your fingertips!
So, if you want to make the perfect survey that is going to be easily understood and well received amongst the participants, then read through our guide on how to create the best possible survey using Google Docs!
What You Need To Begin
Unlike some other survey creation software, you don’t need to do much in order to prepare to make your survey, and all you’ll need to create a survey using Google Docs is access to Google Drive!
This will ensure that your Google Docs survey is saved regularly and is stored in an accessible place for you to share with ease.
All you need to do to access Google Drive is set up a Gmail account, and you’ll automatically have a Google Drive set up for you alongside your email!
So, once you’ve set up your Gmail account, you’re now ready to begin creating your very own Google Docs survey!
Making Your Survey On Google Docs
Step 1: Finding Google Forms
Now, Google Docs is an incredibly powerful software that has a variety of features and uses that make it excellent for creating a wide variety of different documents.
However, when it comes to creating your survey, did you know that Google has its very own dedicated survey creation software? If not, then keep reading onwards!
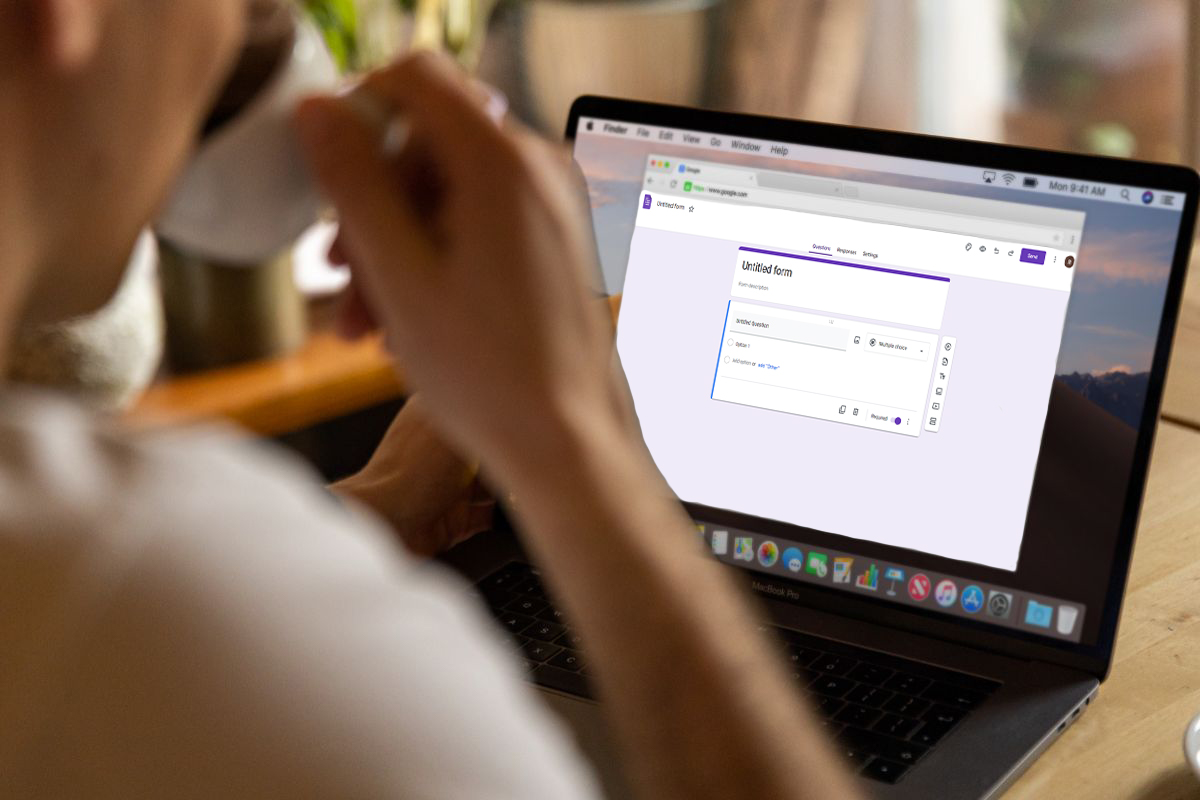
In order to find Google Forms, which is the name for Google’s amazing survey creation software, all you need to do is navigate your way to the homepage of Google Drive, and on the left side of the page should be the button named “New”, click on this, and in the drop-down list of all of the new documents you can create, Google Forms will be there waiting for you.
Step 2: Starting Your New Survey
Clicking on the Google Forms option will then take you to your very own survey, to begin with, it will be entirely blank, which means that the world is your oyster when it comes to creating your very own personalized survey, so you can tailor it to your exact needs.
Step 3: Naming And Describing Your Survey
Before you get started with the questions you want to ask, it’s worth taking the time to think of a clear and concise title for your survey, as well as a suitable description.
These are incredibly important if you want those taking your survey to actually understand what the survey is all about, so take your time writing it out!
Step 4: Adjusting The Settings
Once you’ve completed the title and the description for your survey, your next step should be to make your way over to the Settings section, as this will allow you to adjust some key settings about the information you’re given about your respondents.
For example, you can choose whether or not the email addresses of the respondents are kept, as well as decide if those taking the survey should be able to edit their responses too.
Step 5: Presentation Settings

Once you’ve adjusted the main settings to suit your needs, you should then move on to the presentation settings.
This will allow you to adjust other settings that will improve the quality of your survey, with options for things such as a progress bar for the survey, confirmation messages upon completion, and questions being shuffled for each respondent.
All of these options and more are customizable based entirely on your needs, so spend some time figuring out what is best for you.
Step 6: Palette Choice
Then, the final step for you to get building is to select a suitable palette and header for your survey, which can be edited via the button in the top right corner of your page.
Google has a load of themes already made up that you can use, which can save you a lot of time!
Step 7: Survey Building
You’re now finally ready to begin building your survey. Ideally, you should already have the questions you want to ask prepared on a Google Docs document, which means you can then just copy and paste them over.
But you want to ensure that you check out the drop-down menu on the right side of the question, which will allow you to decide what sort of answer respondents can give you, for most surveys, the “Short Answer” will suffice, with the “Paragraph” option being suited for the more open-ended questions on the survey.
Step 8: Finishing Off And Sending Your Survey
You are then free to build and customize your survey until it is completed.
We recommend giving your survey a preview just to make sure it looks good and works fine, and once you’ve adjusted it and are happy with it, you are then ready to send it to your survey group!
In order to send it, all you have to do is navigate your way to the arrow icon which can be found in the top right corner of the page, and then add in the email addresses of the people who you wish to take the survey.
Then, just click send, and your survey will soon arrive in their inboxes!
Conclusion
Congratulations! You just made your first survey using Google Forms, as you can see it’s an easy software to use, and we’re sure you’ll use it more and more soon!
- What Polls Reveal About Sleeping Together Early and Long-Term Relationship Success - July 7, 2025
- How to Design a Hard Harry Potter Trivia Challenge - October 4, 2023
- How to Design a Dear Peachie Makeup Preference Poll - October 4, 2023


